
Saturday, December 12, 2015
Arduino Uninterruptible Power Supply (UPS)
Recently a friend of mine asked me to design a simple Uninterruptible Power Supply for Arduino using some handphone battery ( Li-ion) and handphone charger.I decided to use a TP4056 charger board to charge the battery, while using a P-MOSFET to control when will the battery provide power to a 5V Step Up Converter.

The schematic shows the 5V from a handphone USB charger feeding a 5V Boost Converter, which powers an Arduino Uno. The 5V will also charge the Li-Ion via TP4056 board. If the USB Supply is gone, the P-MOSFET will be switched on and the Li-Ion battery can power the Boost Converter.
( on second thought, now I am thinking about the usefulness of the P-MOS. I was thinking of switching the battery on and off but now I think it serves no purpose... LOL)
Anyway, the 2 diodes are 1N5158 , I forgot to change it on the schematic. I think the P-MOS can be eliminated because the 5V from the USB would have prevented the battery from supplying power anyway.

This is my end result on a perf board. My friend says that it is working fine, at least until now. (I have no confidence in my design).
Cheers!
p/s :for the improved design, go to http://chanskingdom.blogspot.my/2016/10/arduino-uninterruptible-power-supply.html
Read More »
Labels:
Arduino
Thursday, November 12, 2015
Fix a 8Gb Pen Drive
Never in my mind I thought that I would find a FAKE pendrive in my house. Here I am, holding one. My mom bought this like years ago and it broke just weeks after it was purchased. I knew something was wrong but never had the time to dig deeper. (Click on the picture for the actual size photo) |
| Our Main Guest today! |
 |
| The gut of the flash drive. I even opened the casing to see the controller code. It was futile. |
Today, I was searching for an answer for this. I thought it was just a simple corrupted sector or memory. Googled whole day, tried all sorts of formatting tools, from Windows built-in formatting tool to the HP format tool, but all were unable to complete the formatting. The Windows Formatting says that the disk drive is "Write-Protected", and changing the registry key of HKEY_LOCAL_MACHINE\SYSTEM\CurrentControlSet\Control\StorageDevicePolicies to 0 did not work at all.The Low Level Format Tool returned Device I/O Error for Format Error Occurred at Offset 0 and so on for all 8Gb of memory location.
Then, I stumbled across the Chip Genius tool. It shows the chip and vendor information.

This is after I have fixed the drive. Before this it showed something like "山寨黑盘" which means it might be a fake drive from China. Anyway, nothing can be worse, perhaps I can at least salvage what is left of it.
Google showed me AlcorMP, a software they used to program the controller of the USB disk before selling the disks. This is how they "fake" the memory size of the disk. ( do correct me if I am wrong, I'm not so sure about this myself)
Tried the first one, failed. Second one, failed as well. Turned out I need to find the one which will work with my Firmware. The info is listed as "F/W EF66" as shown in the picture.
Google pointed me to http://flashboot.ru/files/file/53/ , where the translation for the comments showed promising result for my firmware. But before that, I need to make sure AlcorMP recognise my disk.

Following the steps from Formating USB with Manufacturer Tool - USB Drive Format Utilities - reboot.pro , I added my VID and PID for IgnoreVIDPID and VIDPID , which in my particular disk is 00117788 into AlcorMP.ini file.
Run AlcorMP.exe as ADMIN ( this is very important as I could not load the driver without admin access) and this will pop up.

Click Start and it will start to scan for bad sectors and restore the disk to its default value.
Mine actually became 1.4GB only after the process.( verified using H2testw)

Read More »
Labels:
Life
Friday, October 16, 2015
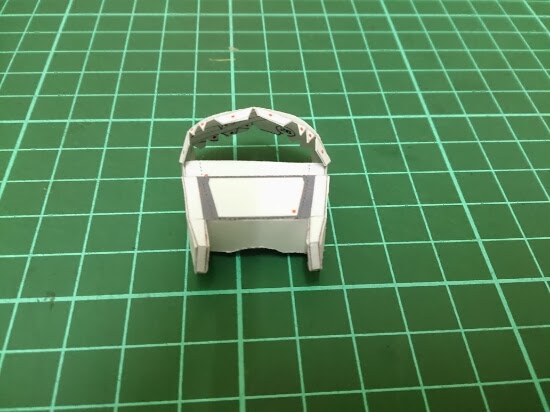
Introduction to Papercraft
I am taking a English Language course in USM, LSP404. The course requires an Individual Oral Presentation as an assessment. So, I took the opportunity to introduce papercraft, a wonderful hobby rarely known to Malaysians to my friends and lecturer.
I made a Pikachu from Paperpokes ( partly because I wanted to build something. It has been like one year since I used my cutting mat and pen knife) and documented some of the building processes in the slides. The slides should give a good introduction to those who want to start on this hobby but are clueless about the process.
Feel free to leave a comment or email me in case you have any questions.
I hope you enjoy the slides and keep papercrafting!
Read More »
Labels:
Papercraft
Wednesday, August 26, 2015
Akatsuki Gundam from Dragon Momoko
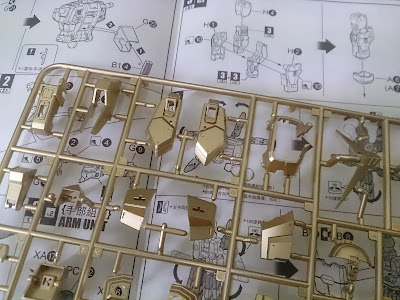
This Gunpla just arrived yesterday so I'm gonna build my second MG!
Some runner photos
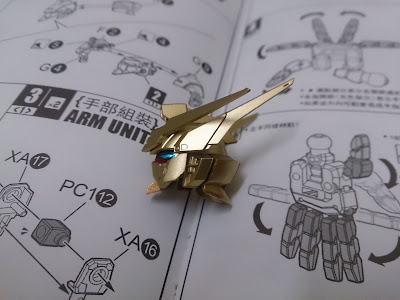
I started with the head unit. Maybe I should have started with body. Turns out I made a lot of mistakes...
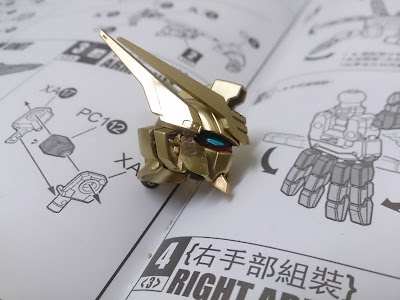
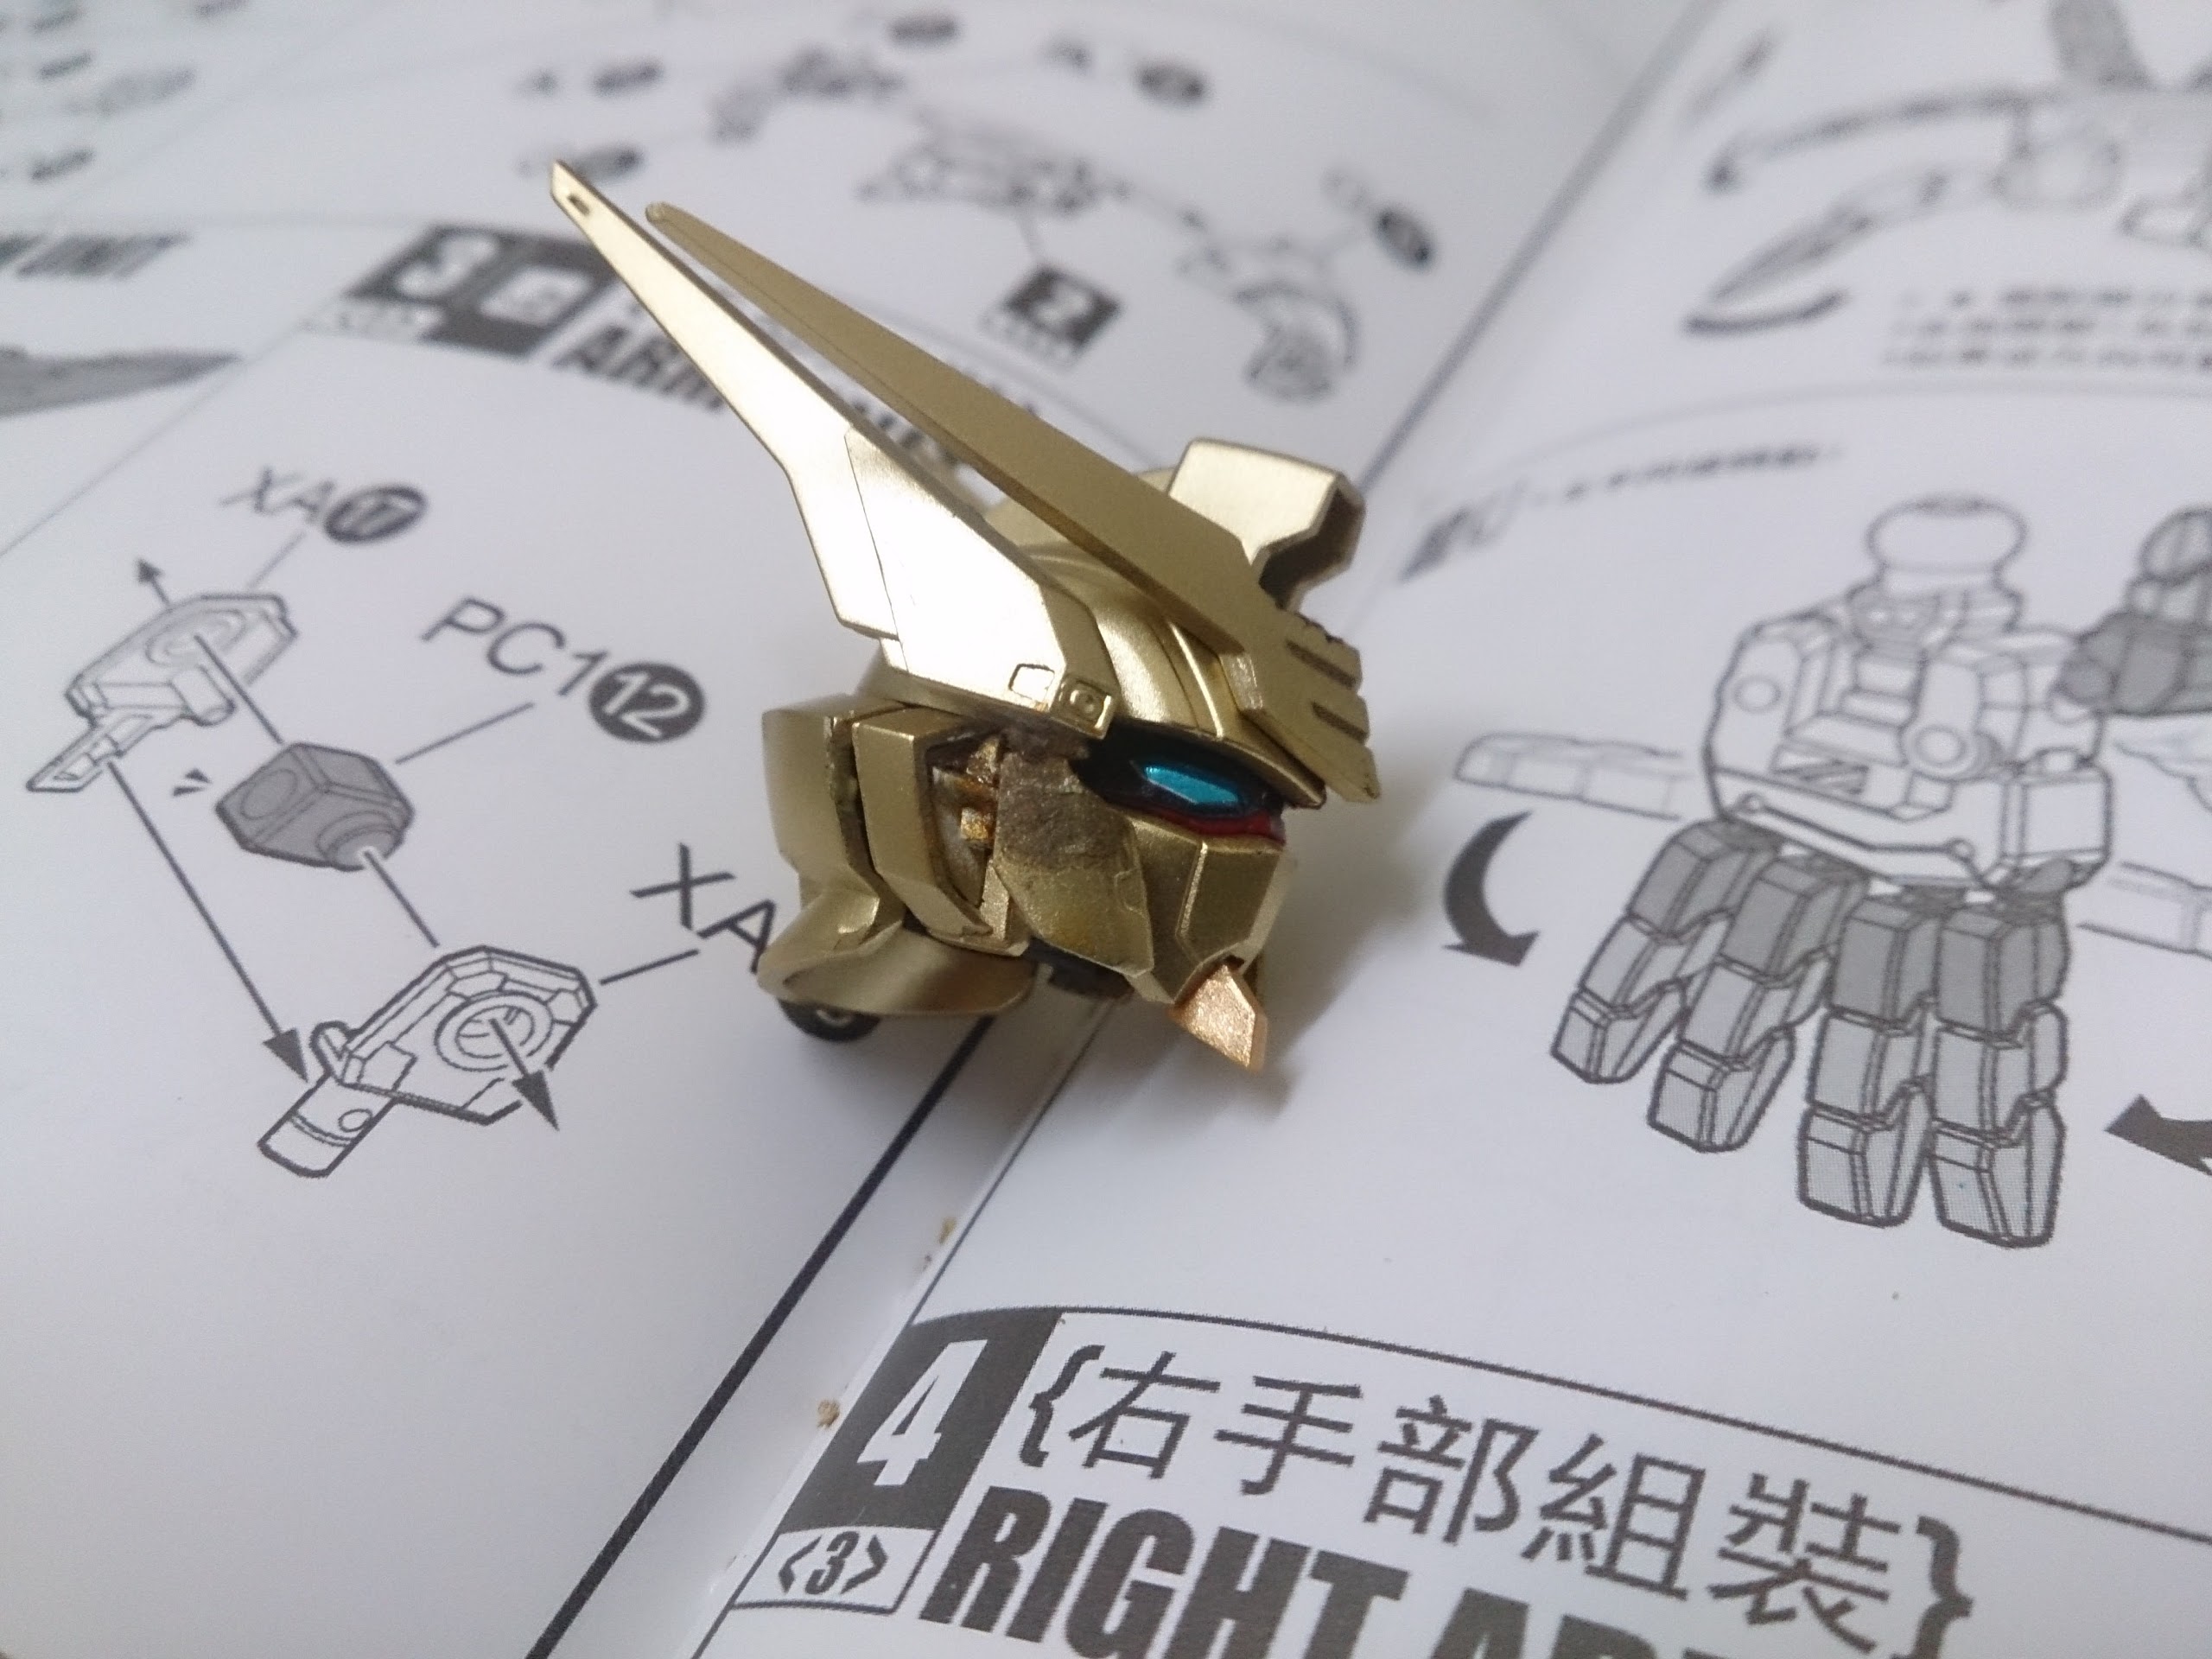
See the paint of its right face? I cut off one small piece from its armor. Don't know what was I thinking, rushing I guess...
Then I applied super glue, which bleached the gold colour off .... Now I hate myself...
Tons of mistakes in the head unit, which is the one most focus on, ugh!
A little bit disappointed by my wrong decisions but it's still too early to give up!
See you next time!
Some runner photos


I started with the head unit. Maybe I should have started with body. Turns out I made a lot of mistakes...
See the paint of its right face? I cut off one small piece from its armor. Don't know what was I thinking, rushing I guess...
Then I applied super glue, which bleached the gold colour off .... Now I hate myself...
Tons of mistakes in the head unit, which is the one most focus on, ugh!
A little bit disappointed by my wrong decisions but it's still too early to give up!
See you next time!
Read More »
Labels:
Akatsuki Gundam,
Dragon Momoko,
Gundam
Sunday, April 13, 2014
Gundam Exia by Toscraft
Hello guys. My bad, been procrastinating again and again. Today, it’s the final day of my mid-semester break, and I finally have the ‘mood’ to type again. Same thing repeated, a lot had been done, but no time to blog, haha. While my Sword Impulse is put away, ( the ink quality is… terrible. The red is so washed out now I am hesitating to reprint the templates, but when I look back at the head, it’s quite good… Any idea?
Read More »
Labels:
Gundam Exia,
Papercraft
Friday, March 14, 2014
Happy White Day

Anyway, I made this on White Day. as requested by my friend. This is just a guideline for him to follow, I hope his girlfriend will appreciate it! It was not too hard, but not easy too!
Happy White Day once again!
If you want to make one as well, follow this video!
Read More »
Labels:
Papercraft
Tuesday, January 14, 2014
Head is Finished!
Hey guys! Finally, the head is finished!Can't stop looking at the 'handsome' face of Sword Impulse LOL.
Anyway, this is to illustrate the amount of papers required by this model.
")
And look at the thickness of the papers...
")
Read More »
Labels:
Papercraft,
Sword Impulse Gundam
Sunday, January 12, 2014
Sword Impulse Gundam Papercraft
Hello guys. Sorry for the 'invisible' updates . Trust me, they are already in my mind, just that I'm too lazy to visualise them. I have so many things to share, all about the stuffs I did in USM.
Anyway, I'm now enjoying my sembreak, so I decided to start a new gundam papercraft. It will be 47cm tall
I believe and it's the Sword Impulse Gundam from Seed Destiny series!
I'll try to update once per day, hoping to complete it before my holiday ends.
So, this is my progress so far :
Anyway, I'm now enjoying my sembreak, so I decided to start a new gundam papercraft. It will be 47cm tall
I believe and it's the Sword Impulse Gundam from Seed Destiny series!
I'll try to update once per day, hoping to complete it before my holiday ends.
So, this is my progress so far :

Read More »
Labels:
Papercraft,
Sword Impulse Gundam
Monday, October 21, 2013
Projects in USM
Twiss Programme
Last week was one busy week. My weekend was packed with activities and programmes!.One of them was TWISS Programme. I don't have a clue what is the full name for TWISS ( I think TWISS is a short form, right? ), but it was meant to introduce to us, USM School of Electrical and Electronic First Year Student , the concept of Student Centred Study.
It was organised in Friday and Saturday, using almost two days, and we were required to build an electrical car!
I was totally stumped by this project as we don't even know how to use a breadboard to test our circuit, not to say building a complete circuit! Well, they provided us with some short training session... Personally, I feel that the training session is too short, I had to take out all the components even before I completed my circuit. But then, this is the first time they organised such programme... So, keep up the good work!
Anyway, this is my complete circuit board done by my team. We did it quite fast, way ahead of other groups and most importantly, it works!


But then, nothing is certain in this world.
Read More »
Labels:
Life,
USM
Friday, October 04, 2013
USM-Universiti Sains Malaysia
Wow, it has been quite a long time since the last time! Life is truly hectic here, with assignments, quizzes, and activities flying towards you, you’ll have to pick up some "manoeuvring” skill to avoid accidents with all those stuffs.To cut it short, I am now taking Electrical Engineering in Universiti Sains Malaysia. One thing to note that I am now in the Engineering Campus, not the Main Campus. Feeling surprised? USM has 3 campuses, another one is Health Campus in Kelantan.
Below are some of the photos around USM, courtesy of my friend’s handphone. My HTC Wildfire S has a weak camera, unfortunately.
View from my hostel room.
")
")
Random shot of the sky I guess?
")
Pusat Pembangunan Siswa, or PUMA. Basically all the students’ activities are held here.
")
Read More »
Labels:
Life,
USM
Saturday, September 07, 2013
SD Wing Zero Custom- Wings, Rifles and Completed!
When you read this post, I am no longer in my own house.I am on my way to USM!
And Wing Zero Custom is finished just two days before my departure
Wings
Okay, the wings are completed, and they are gorgeous! Of course, it is still unable to balance itself but I am fine with that.


Did not expect that GunPla beam saber can fit inside the palm. It is HG Infinite Justice’s. Looks good eh?

Read More »
Labels:
Papercraft,
Pokemon,
SD Wing Zero Custom
Charmander V2
A short post about Charmander V2, which I made before Wing Zero Custom is finished. Gave it to my cousin as a gift.


Read More »
Labels:
Charmander,
Papercraft,
Pokemon
Friday, August 16, 2013
SD Wing Zero Custom- Wings
What is the first impression in your mind when you heard the name ‘ Wing Zero Custom Gundam’?For me, of course it’s the WINGS!
Nothing can beat the beauty of wings, and in this case, the difficulty as well.
These are the first part of the smaller wings at the back.


Finished first part.

With other larger parts.

Finished ‘ smaller’ wing. Somehow, I love this photo very much. The lines actually enhance the shape of the wings. At first, I thought the lines are disturbing because the parts look very dirty with the lines on. Well, this shot proves me wrong.

The much more complicated side wing. I call it the ‘large’ wing ,.

Read More »
Labels:
Papercraft,
SD Wing Zero Custom
Thursday, August 15, 2013
SD Wing Zero Custom–Shoulders, Hands and Backpack
Sorry guys for the late update, got some real life issues needed to be deal with immediately.Alright, time for the photos!
Shoulders
Nothing special, a very straight forward build. I like the design very much though. I love the articulation shown in photos below.
It can be rotated 360 degrees! While this is a basic requirement for most of the plastic model, it’s not the case for paper model. Since paper is more fragile and weak ( duh!

Still, have to improve my skill by a large margin. The finished part always ends up dirty and rigged.


Hands
This is such a short post LOL.Okay, still remember the misplaced part on leg? It’s supposed to be used here.

As the connector for the palm to the wrist!

Read More »
Labels:
Papercraft,
SD Wing Zero Custom
Subscribe to:
Posts (Atom)


 A papercraft enthusiast and day-dreamer.